

A vulnerability was found in zzcms 2018 (Content Management System) and classified as critical. This issue affects an unknown function
A vulnerability classified as problematic was found in ZyXEL VPN2S 1.12. Affected by this vulnerability is an unknown part of
A vulnerability has been found in Zyxel VPN2S 1.12 and classified as critical. This vulnerability affects some unknown processing of

A vulnerability was found in Zyxel USG, USG Flex, Zywall, ATP and VPN up to 4.64 (Firewall Software). It has
A vulnerability was found in ZyXEL GS1900-8 2.60. It has been classified as problematic. This affects an unknown code of
A vulnerability, which was classified as critical, has been found in Zynamics BinDiff up to 6. This issue affects an
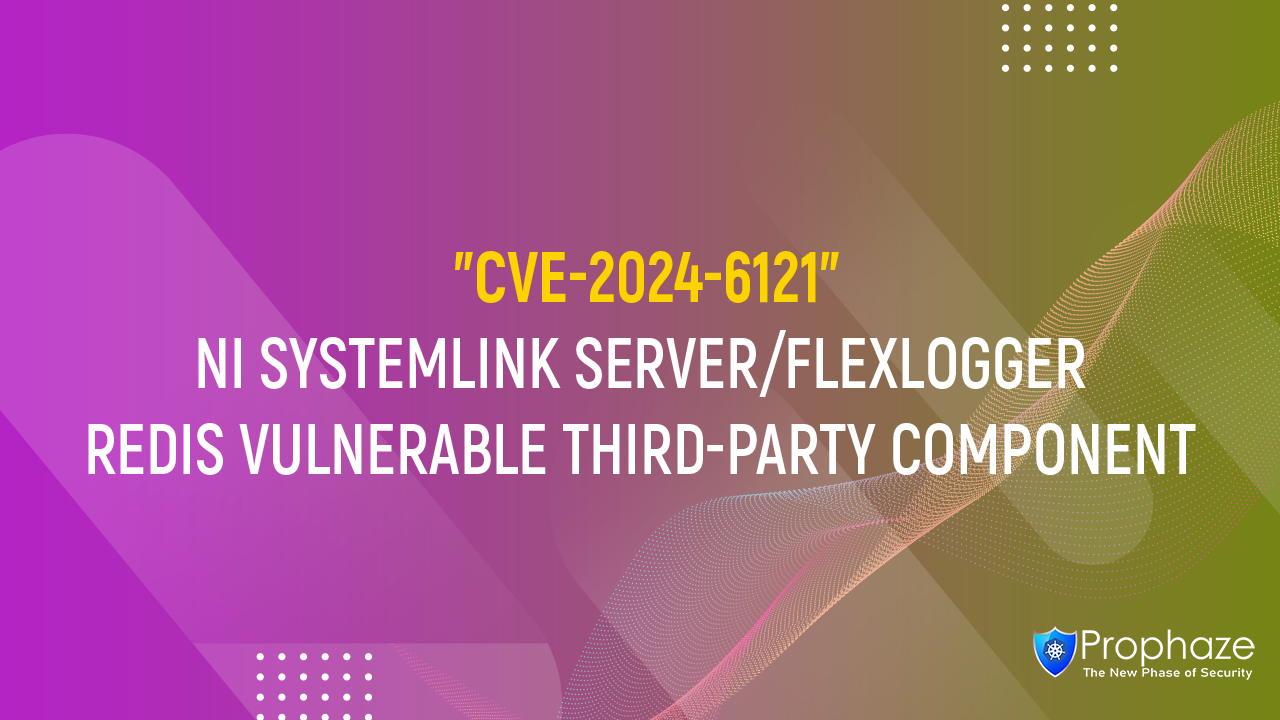
Description An out-of-date version of Redis shipped with NI SystemLink Server is susceptible to multiple vulnerabilities, including CVE-2022-24834. This affects

Description Argo CD is a declarative, GitOps continuous delivery tool for Kubernetes. This report details a security vulnerability in Argo
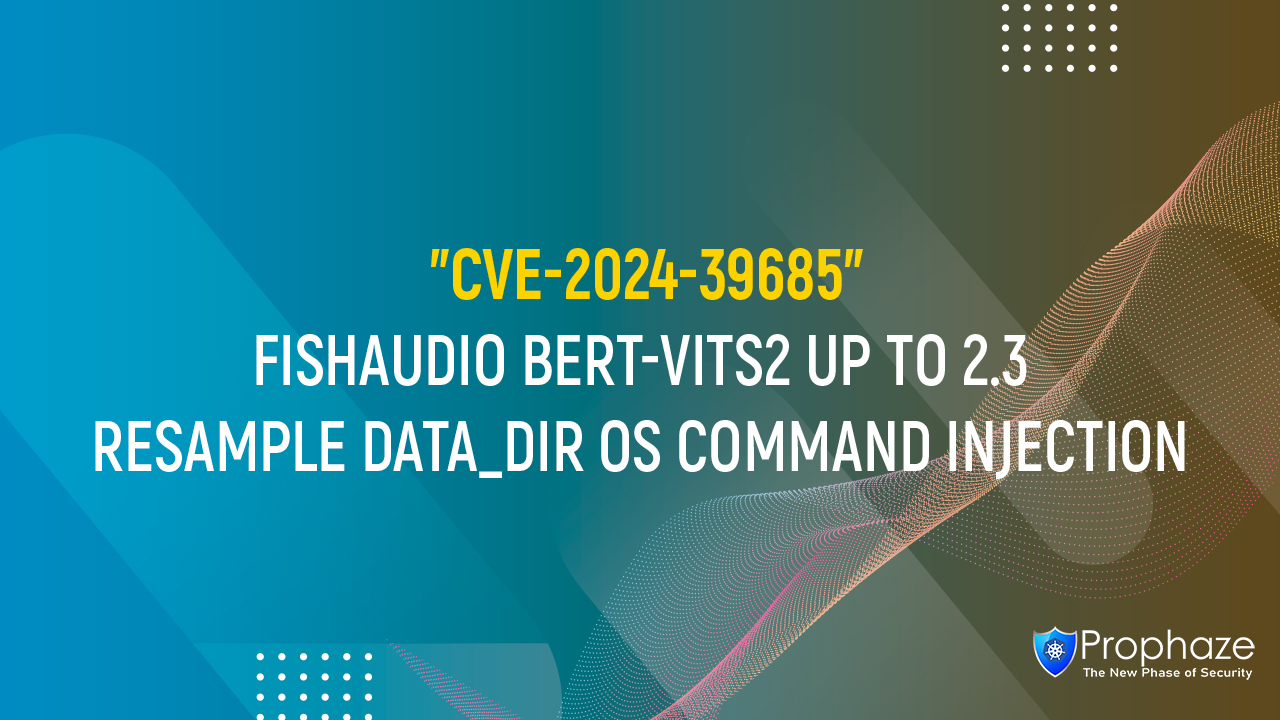
Description Bert-VITS2 is the VITS2 Backbone with multilingual bert. User input supplied to the data_dir variable is used directly in